How to Install Linux Mint
Here I will give a detailed step by step tutorial on how to install Linux Mint.
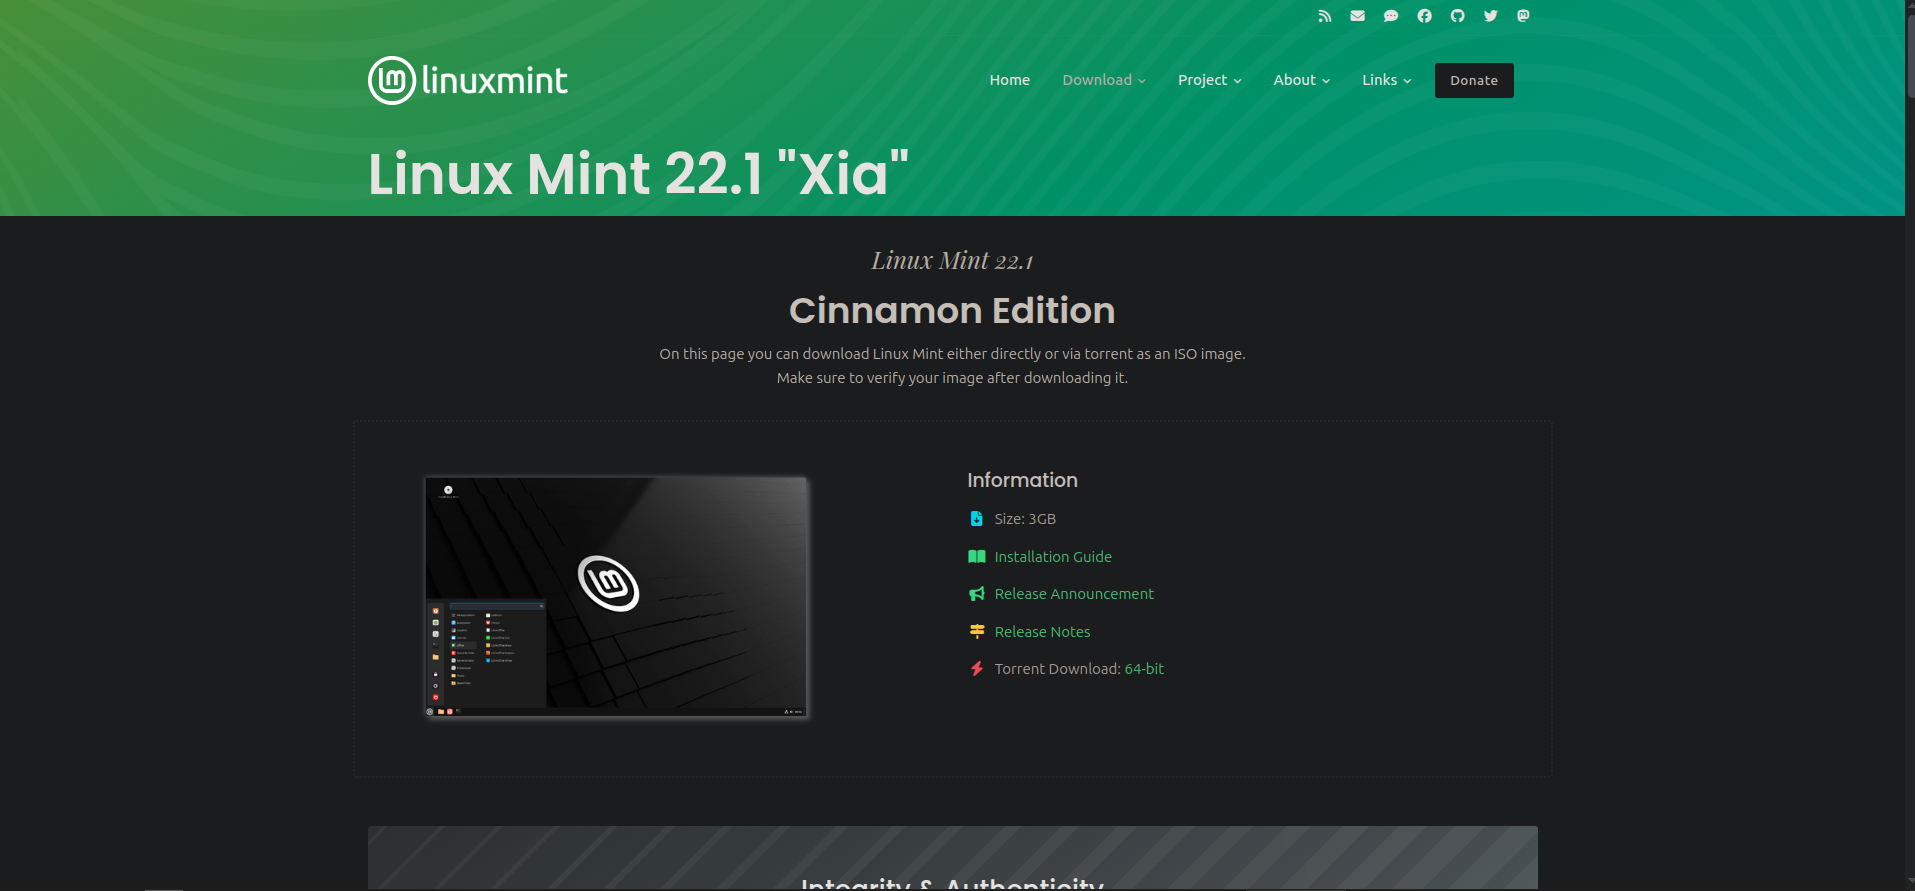
For this tutorial I will be using Linux Mint version 22.1 Xia. The latest stable version.
Step 1: Download the ISO Image
The first step is to go to Linux Mint's website and download he ISO image. This is the image that we will be using to create a bootable media in order to install it to your computer.
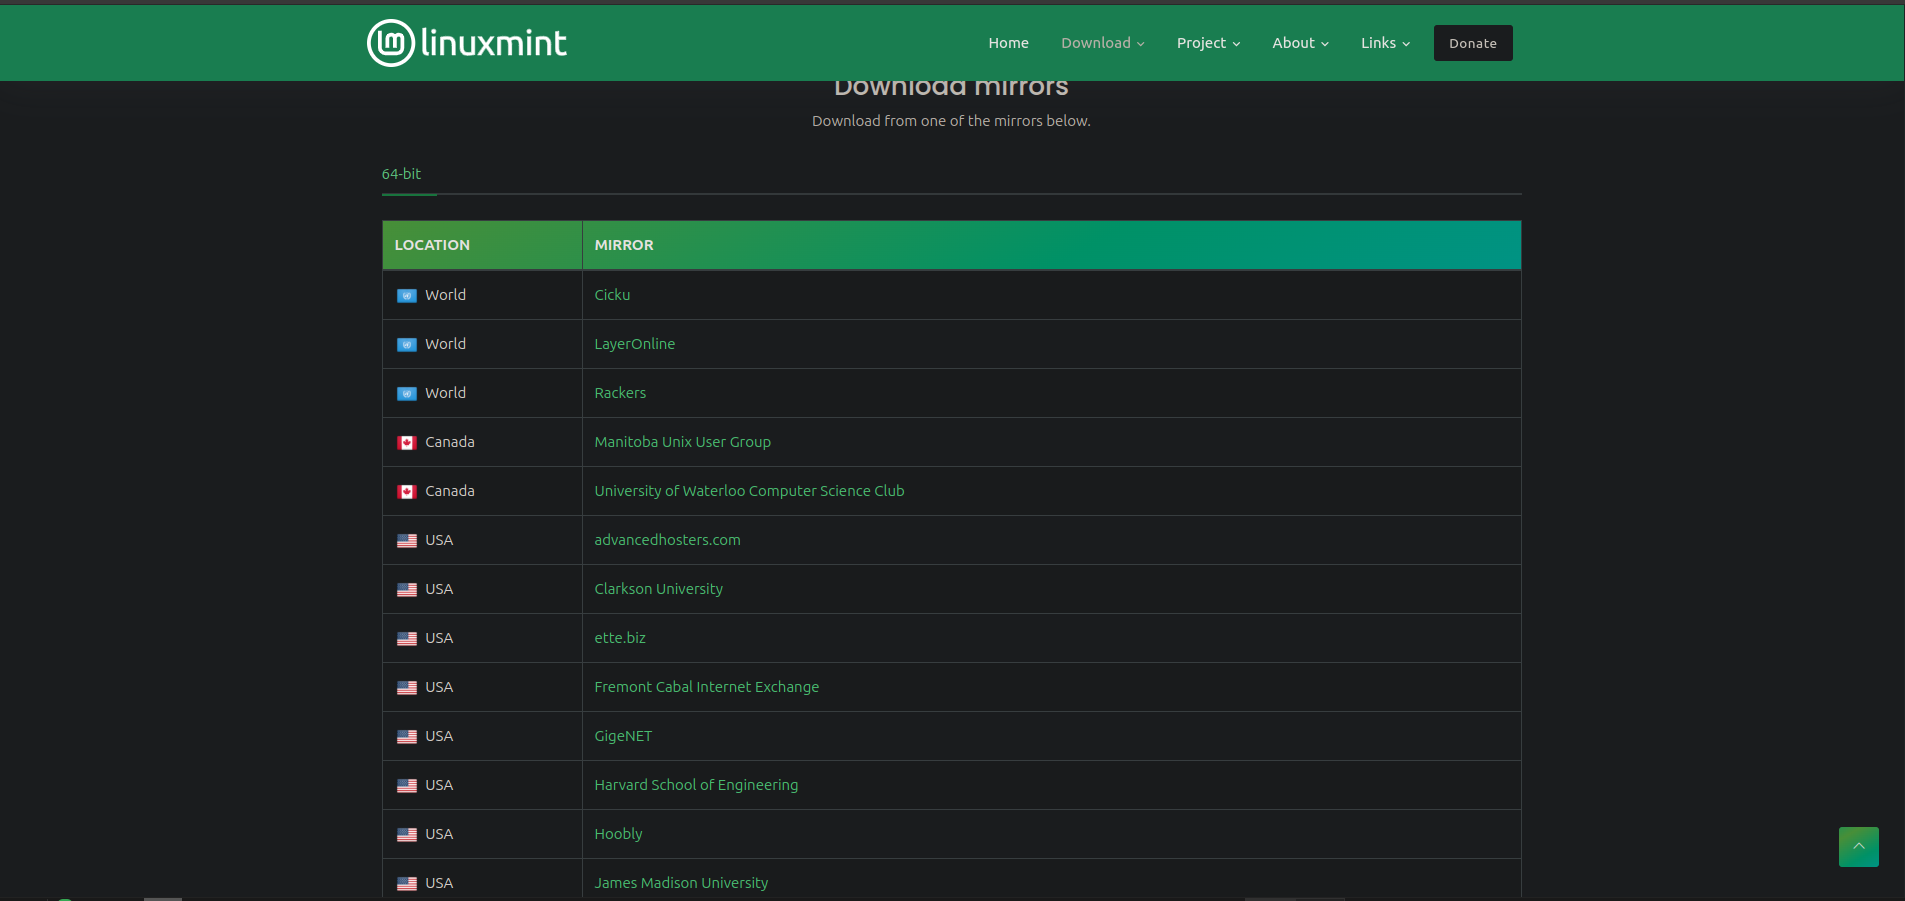
So now we will go ahead and do this. You can download Linux Mint's ISO here You can find the mirror closest to you to get the fastest download.
Or if you are close to where I am on the east coast of the United States like me, I find this direct link the Clarkson mirror to directly download the ISO pretty close and fast.
Step 2: Create a bootable USB stick
For this tutorial I will be using a bootable USB drive.
We will be using a program called Balena Etcher. This is an application that runs on Linux, Windows, and Mac OS. So whichever your current system, these steps will the same. Except for of course installing the application.
You can download and install Etcher from their website here
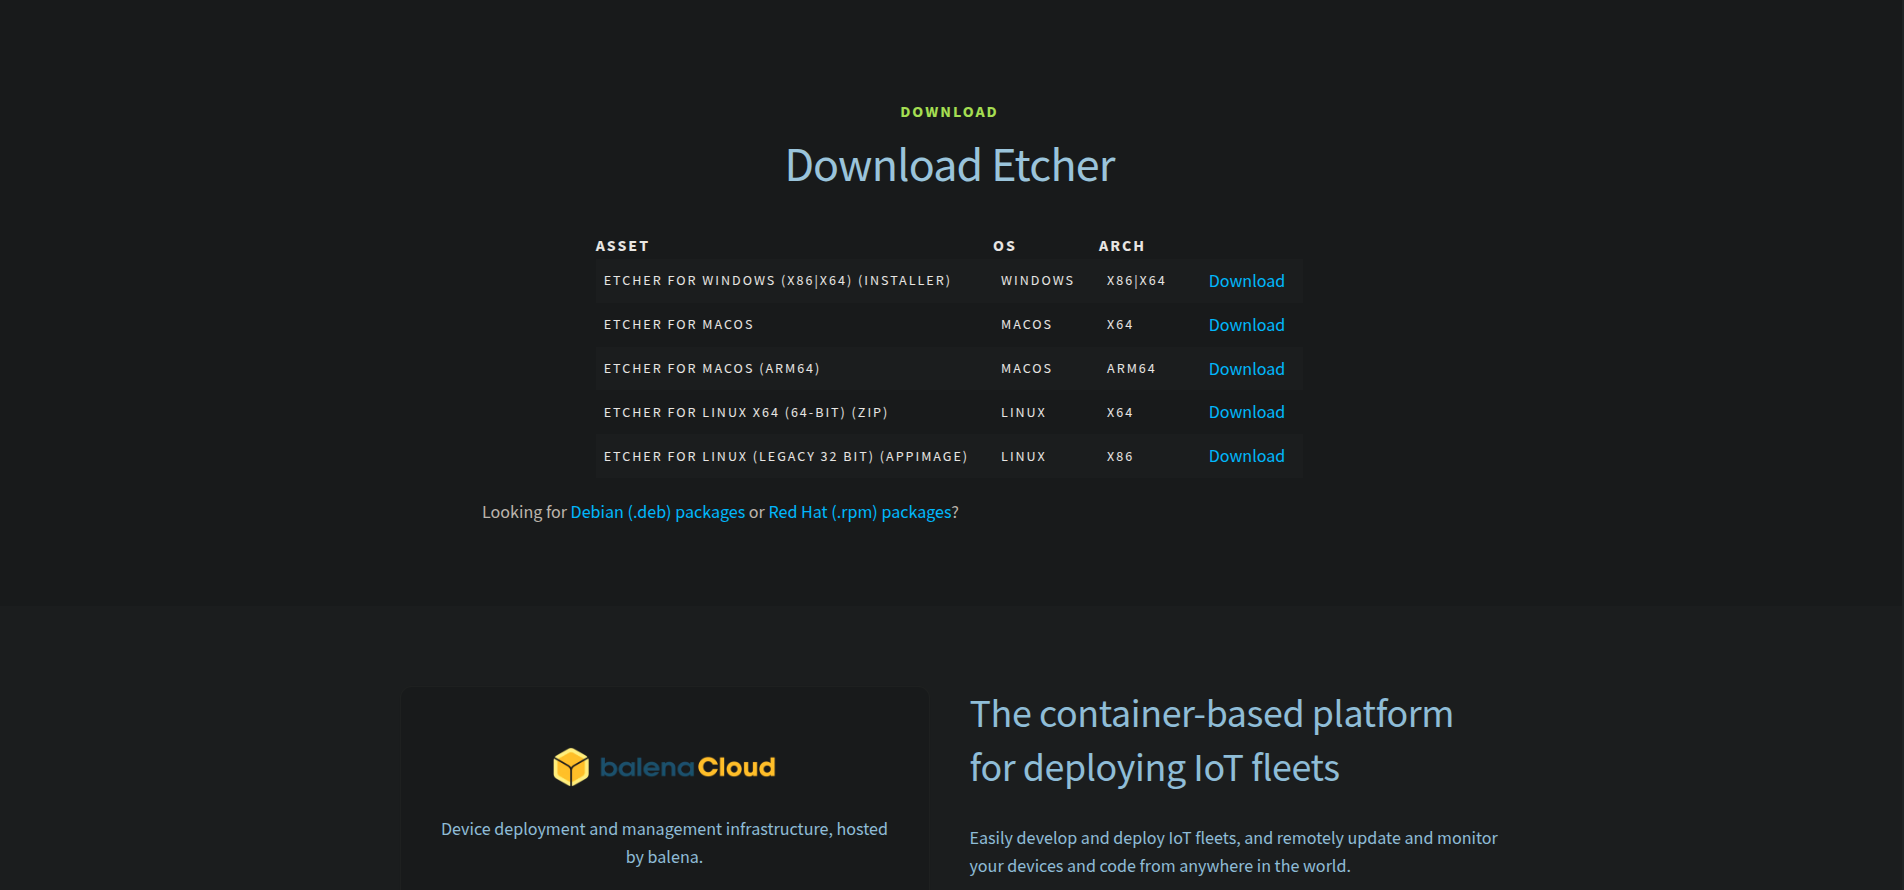
Download the correct version for your current system here
To Create the Bootable USB
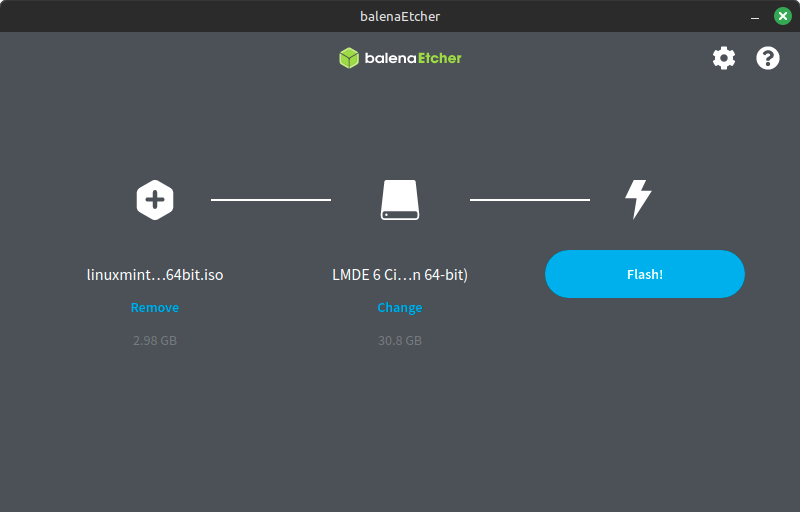
Once you have Etcher installed, launch it, and you should see a screen that looks like this:
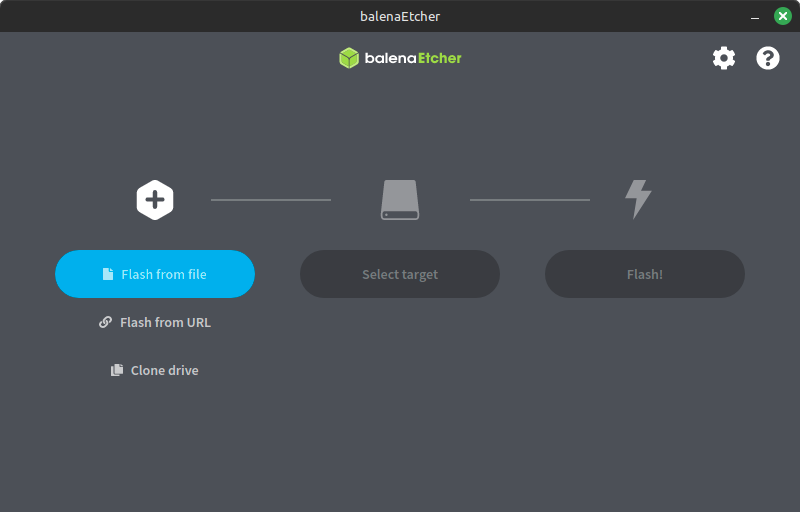
Click on Flash from file, then navigate to where you have saved the Linux Mint ISO, and select it.
Next it should look like this:
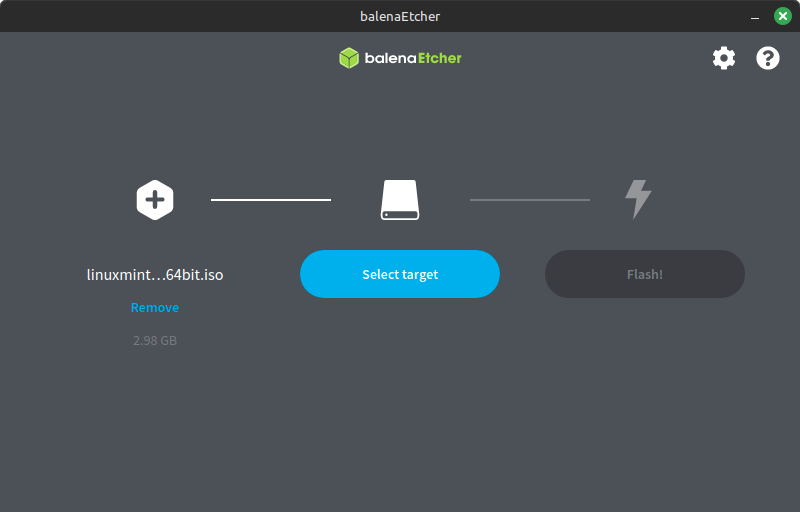
WARNING! BE CAREFUL! If you select the wrong drive you could accidentally wipe your main hard drive. Make sure you select the correct drive here before proceeding. I am not responsible if you nuke your system.
Next you will want to click on Select target.
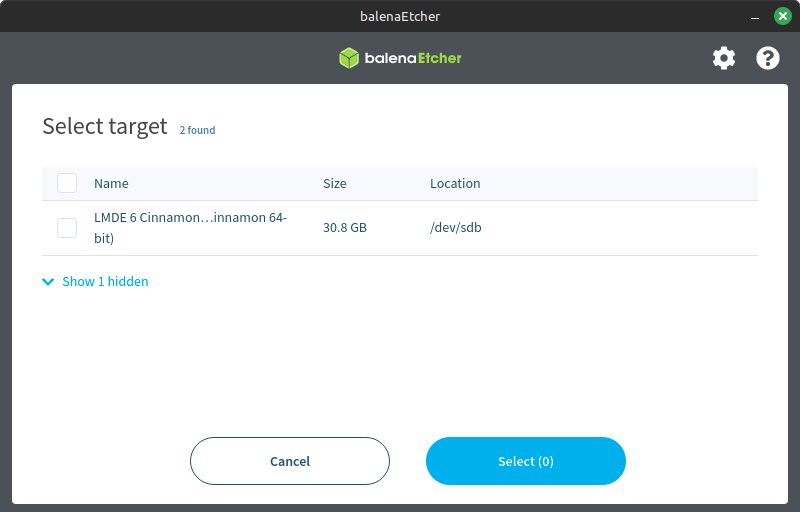
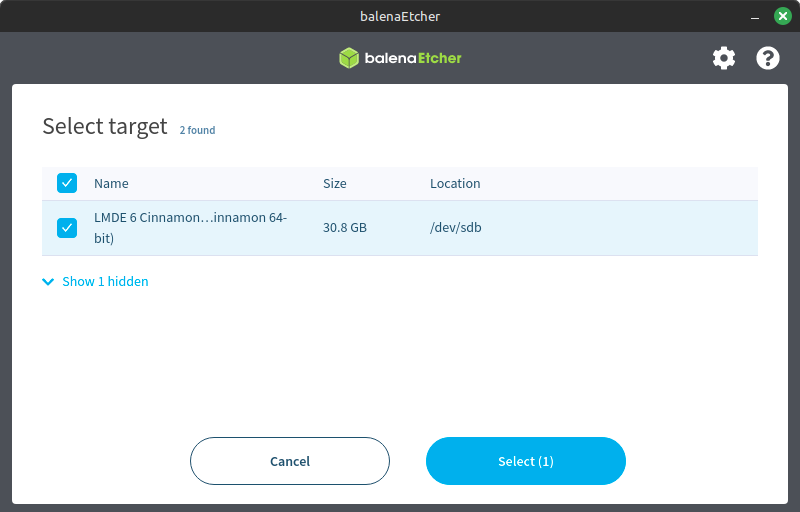
If you are running Windows, you will see your drive letters appear on these screens. I am on Linux, so the USB drive shows up as /dev/sdb. So now I have the correct drive selected.
Once you have the correct drive selected, you can click on Select to proceed to the next step.
Next click Flash!
Last Warning! This will wipe everything on the selected drive. If you are not sure, double check that you have the correct drive selected.
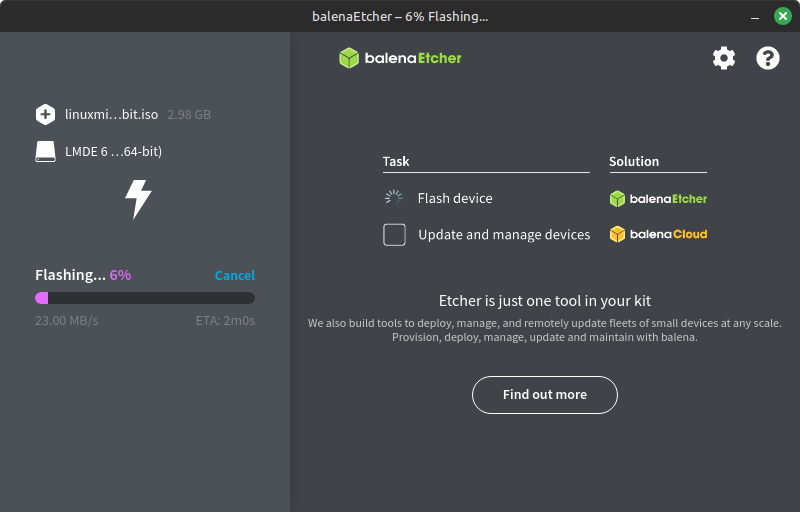
Next you will see this screen showing the progress of the flash.
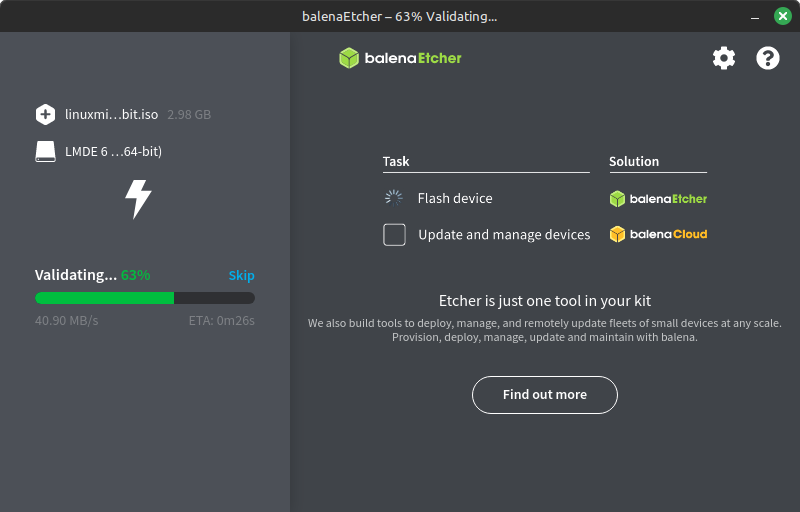
It will go through a quick validation process.
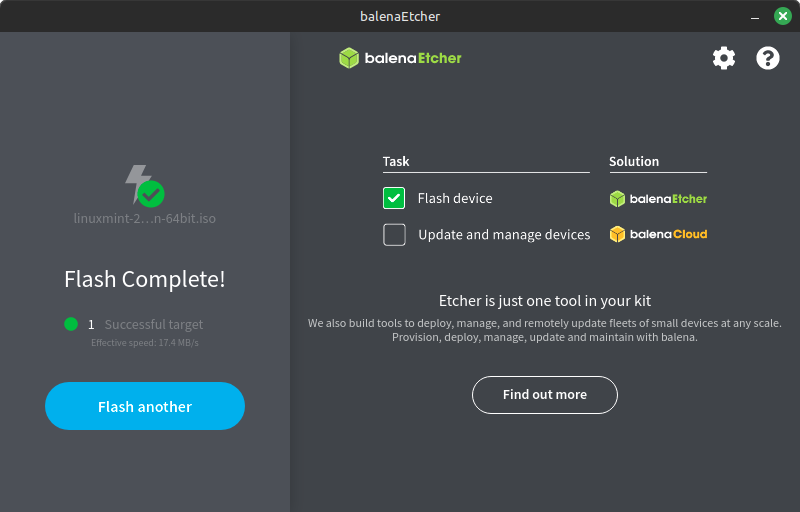
Congratulations! At this point you should have a bootable usb stick ready to go. Once you see this:
Step 3: Booting from the USB Stick.
Make sure the USB stick is plugged into your computer for this.
These next steps will be different for everybody, unfortunately every UEFI/BIOS on each computer is different. So there is no way I can give a step by step guide on this part. But I will give a general idea.
Accessing the UEFI/BIOS of your computer:
For this step your gonna wanna pay close attention at the boot up of your computer, you may see on the screen for a split second sometimes it says press a key to interrupt the boot process, for every computer this is will be a different key.
Press the designated key to get your computer into the UEFI/BIOS. Once you are there, you are ready to get to the next step.
Disabling Secure Boot:
Some machines will not allow you to boot from a USB stick with Secure Boot enabled in the UEFI. Do not worry, this is mostly a scare tactic by Microsoft to keep people from installing perfectly secure operating systems like Linux. For this step you will have to hunt around your UEFI/BIOS to find the setting. And disable it. Then save the settings, and reboot.
Change The Boot Device or Boot Order:
Some computers give you an option to change the boot device a single time at boot up. If you see a message saying to press a certain key to change boot device, then press that at start up. Then select the USB device you created. You will be booted into what is called a live session of Linux Mint.
If you do not see a key to change the boot device at boot up, then while you are still in the UEFI/BIOS, you should find an option to change the boot order. Follow the instructions set in your particular computer to make it boot from the USB stick first. This will change the boot order until you change it back, so be sure to change it again if you do not want this to be permanent after the installation process is complete.
Once you have successfully booted into the live session, you are ready to move on to the next step.
Step 4: Install Linux Mint
Now we will finally install the actual system.
Now lets get started shall we?
If you have successfully booted into the Linux Mint USB stick, you should be seeing a screen like this on your computer screen:
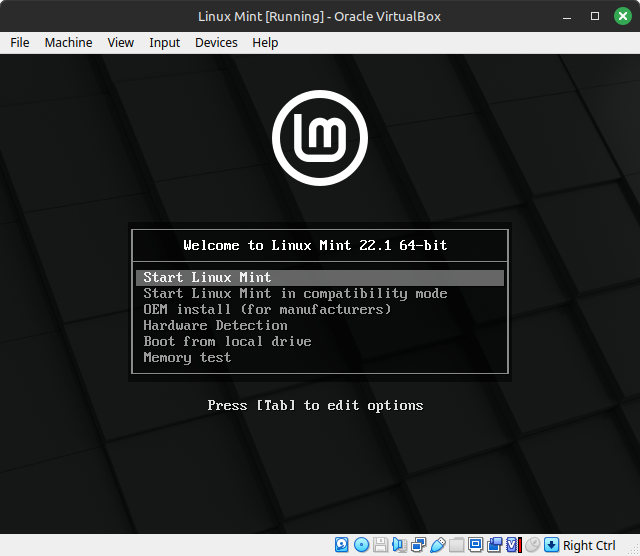
You may press enter, or let it count down and it will automatically boot from the first option here. It will then boot you into a live environment that will look like this:
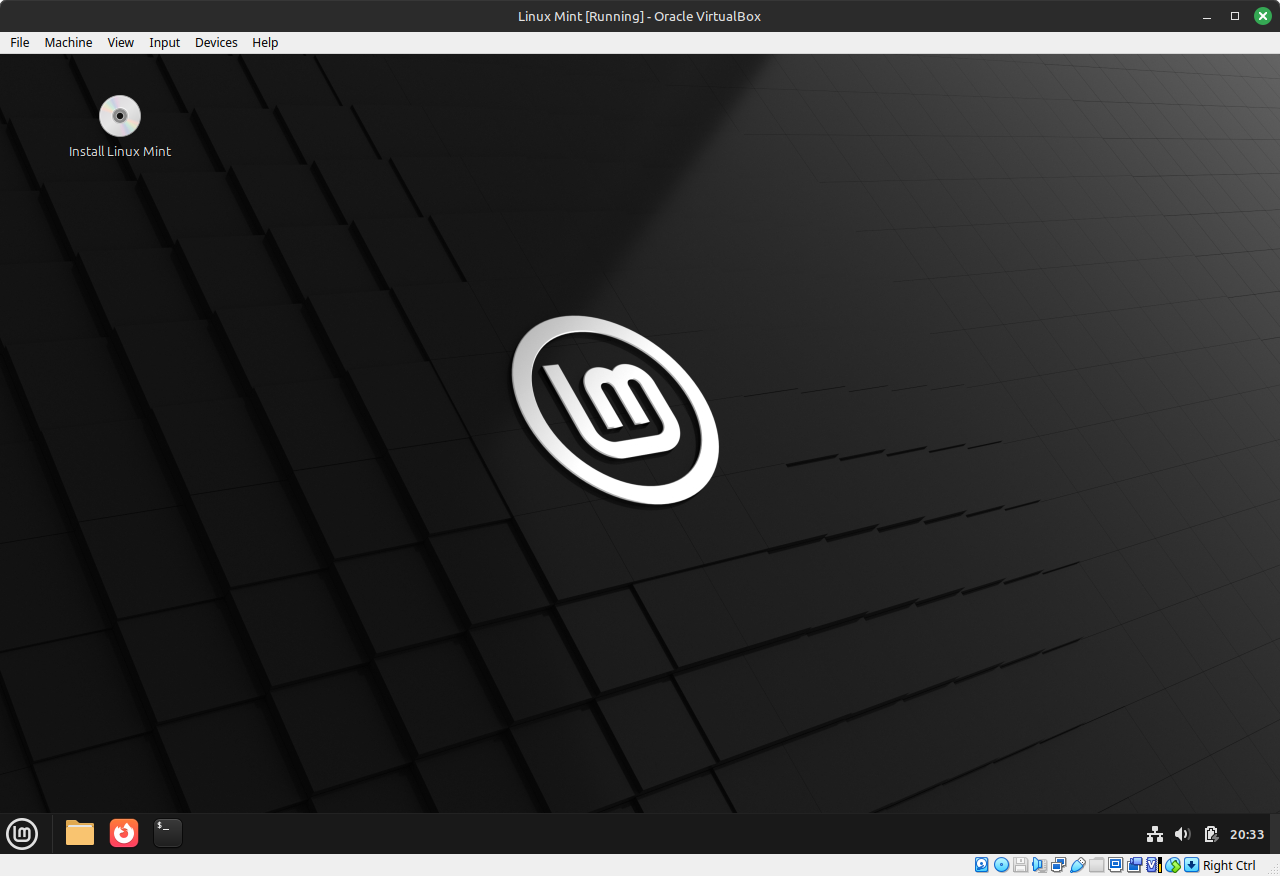
Now you are in what is called a live environment or live session. Nothing has been installed to your system just yet. What this does it gives you an opprotunity to explore and try out Linux Mint before installing it without harming your current Window or otherwise installation. Feel free to explore and check out different things, check if your wifi is working, etc.
If everything is working, then you may click the CD icon in the top left corner that says Install Linux Mint. This will launch the installer like such:
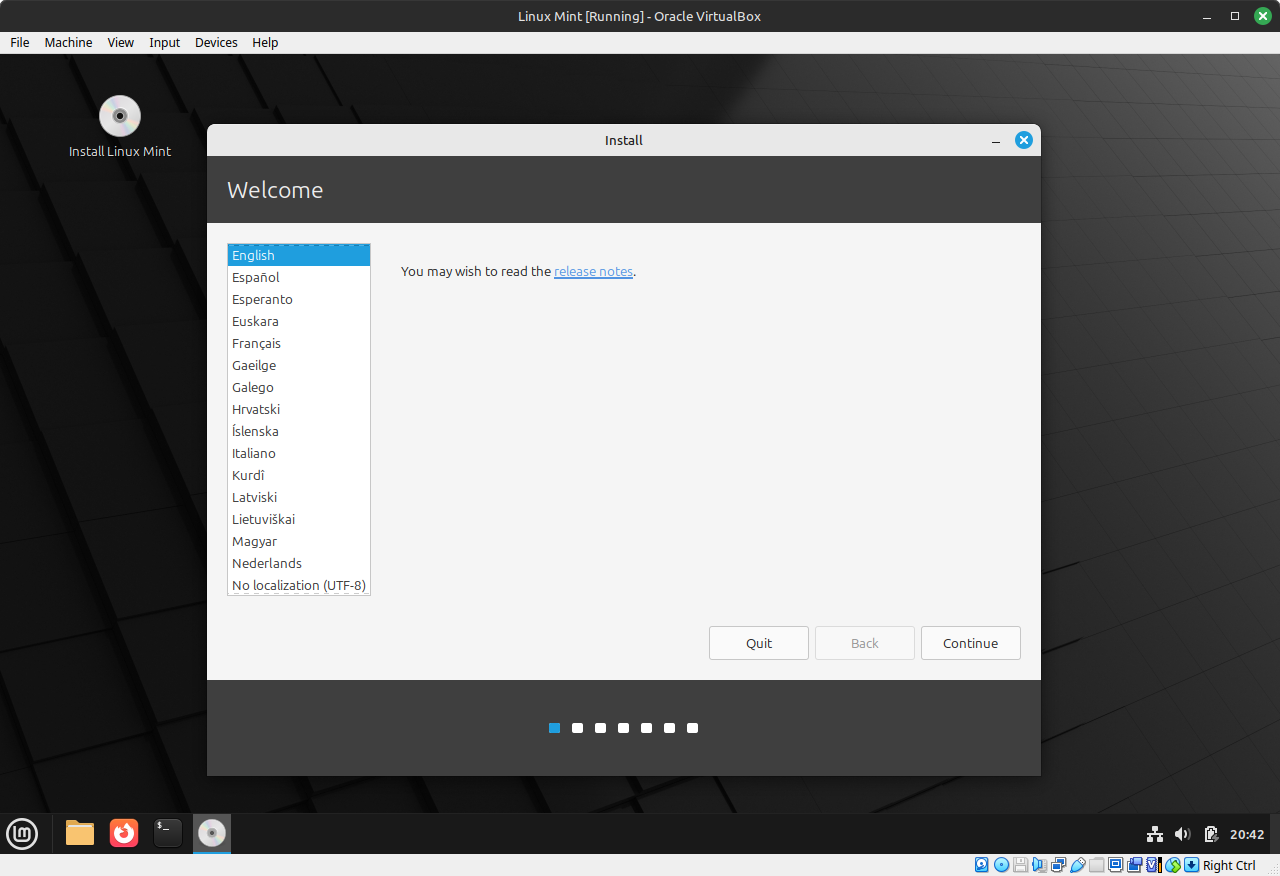
If the language is correct, you can click Next:
Keyboard Layout:
Make sure your keyboard layout is correct.
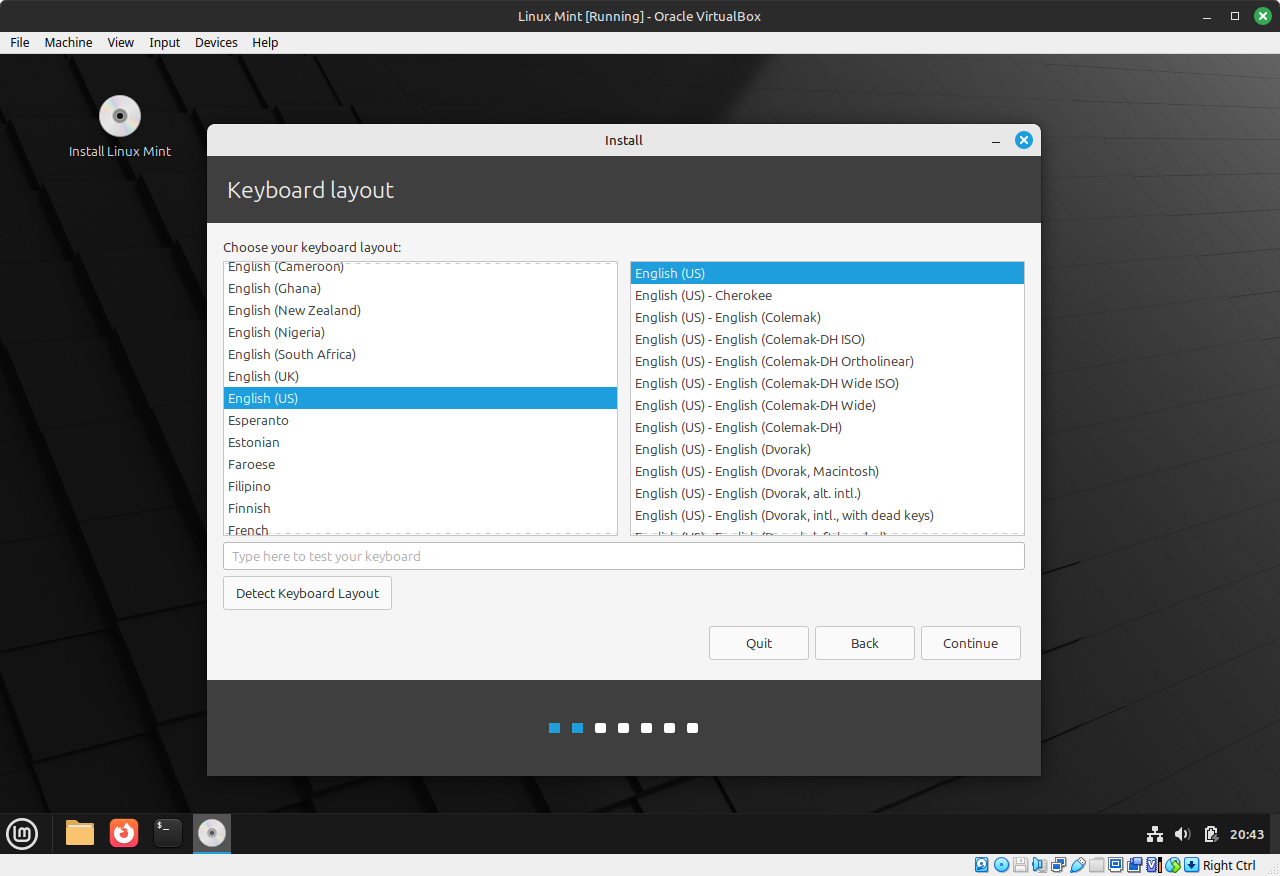
If the keyboard layout is correct, then click Next:
Media Codecs:
Here you are given the option to install multimedia codecs that are needed if you wish to play music, videos, etc. I recommend most people chech this box to make sure these things get installed so that your media files will be fully compatible with your new system.
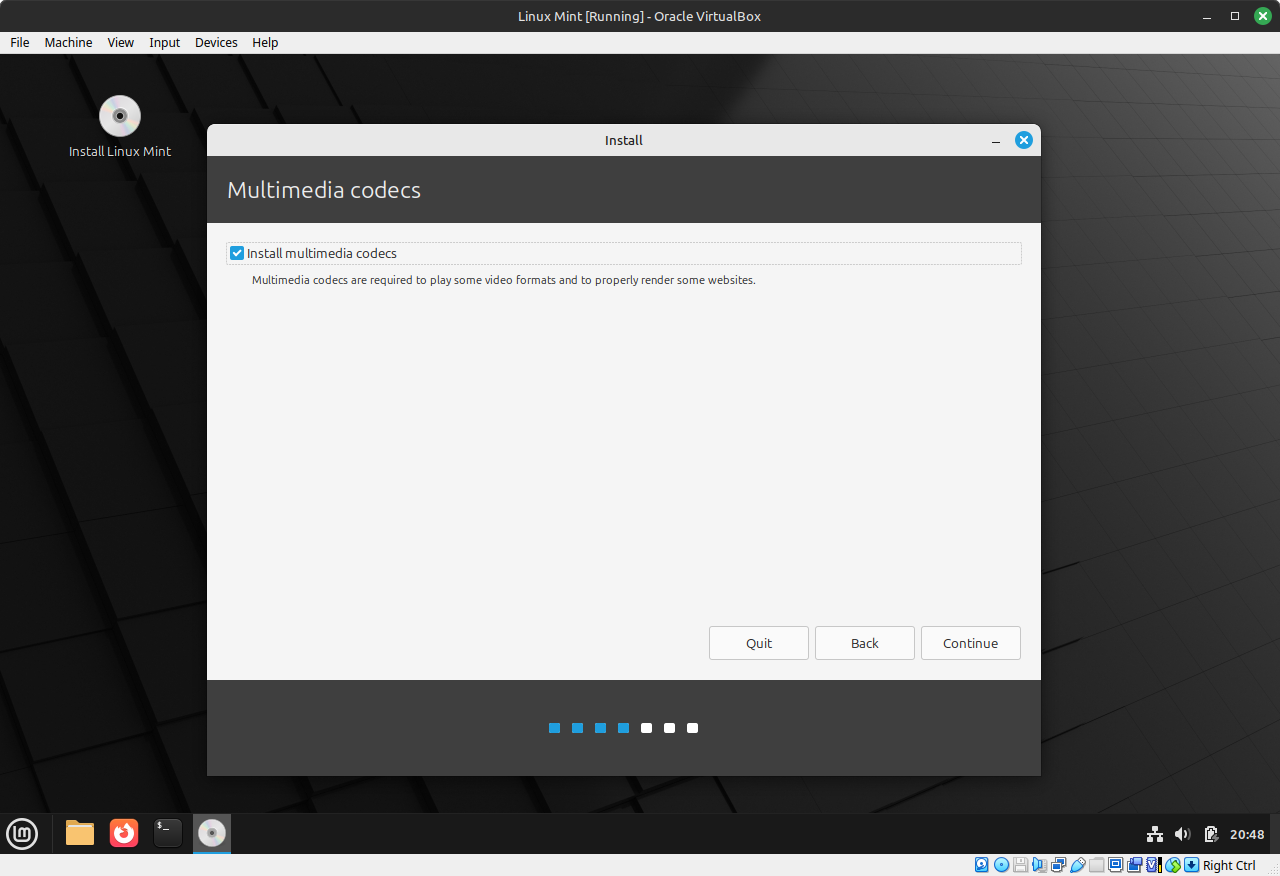
Make sure to check the box to have your codecs installed. Then click on Continue.
Disk Partitioning:
Now we are going to prepare the disks to install Linux Mint.
Note, this tutorial assumes Linux Mint is the ONLY operating system you wish to run on your computer. This process will wipe your entire system and replace it with Linux Mint.
At this point, you should be seeing this screen here:
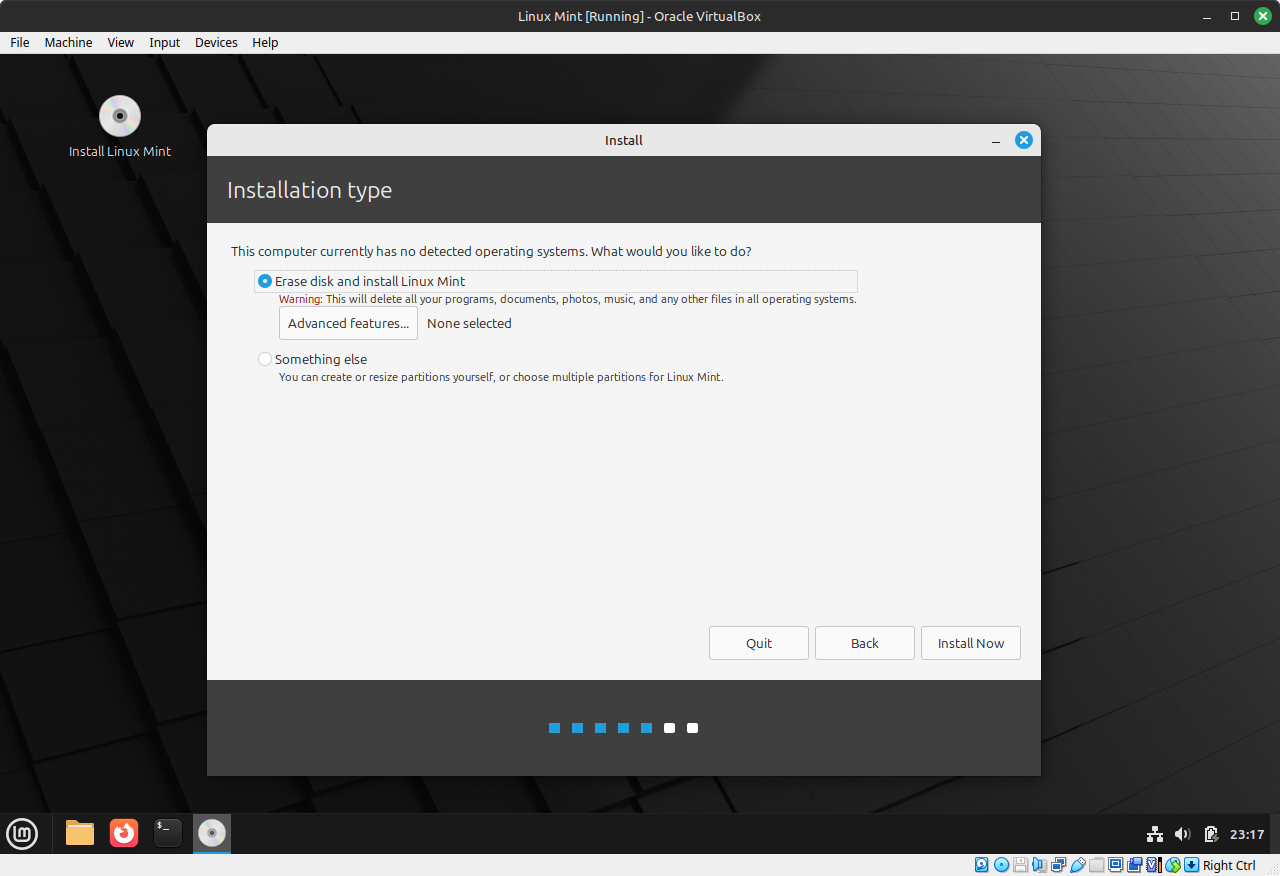
Note one last warning that you are about erase your entire system, if you are ready to install the system, click Install Now.
Time Zone:
Give it the correct timezone. I am on the east coast of the US, so New_York is fine for me. Change it to your correct timezone if it is different than mine.
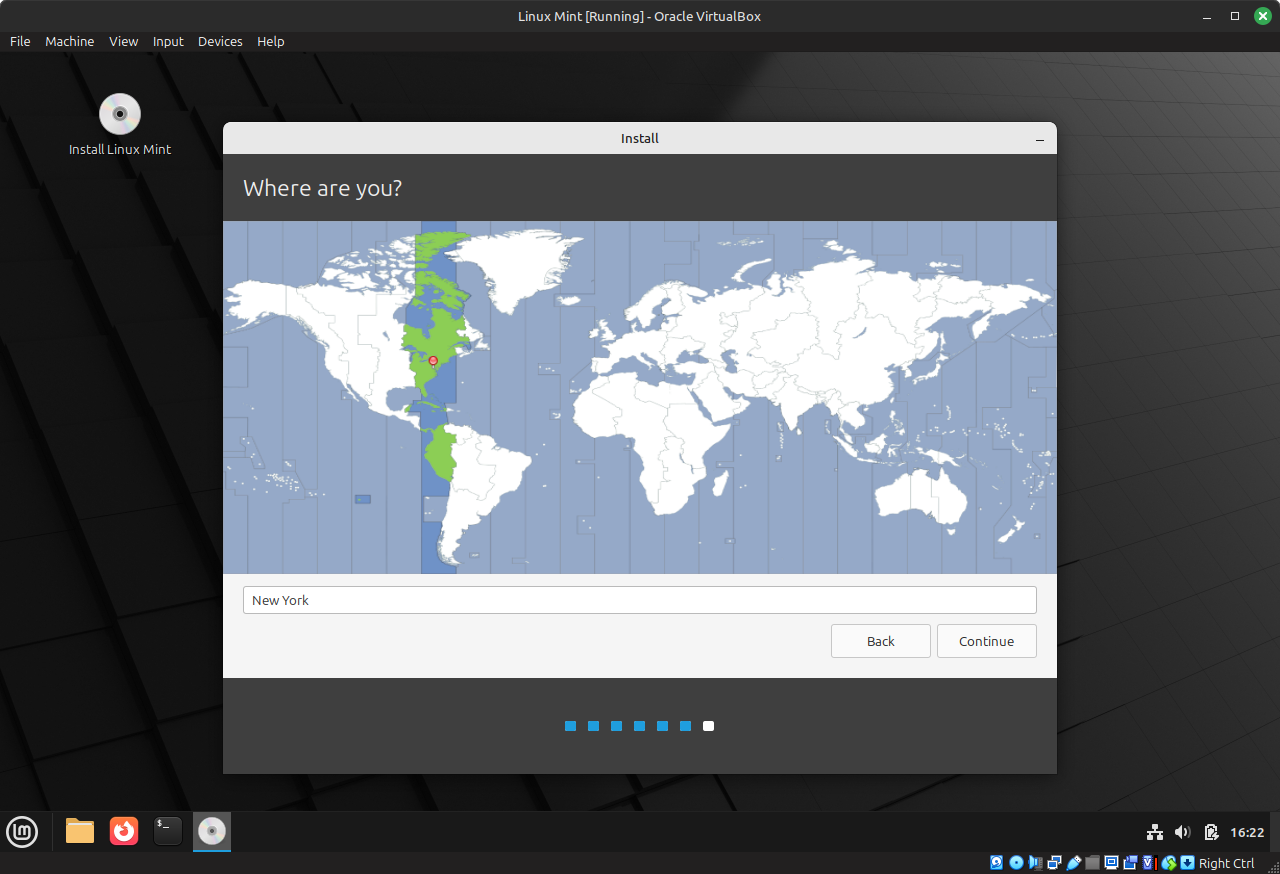
Set Up Your User:
Now we will set up your username, password (make it a strong one), set up your computers name. Not the computers name will only take lowercase letters and NO spaces.
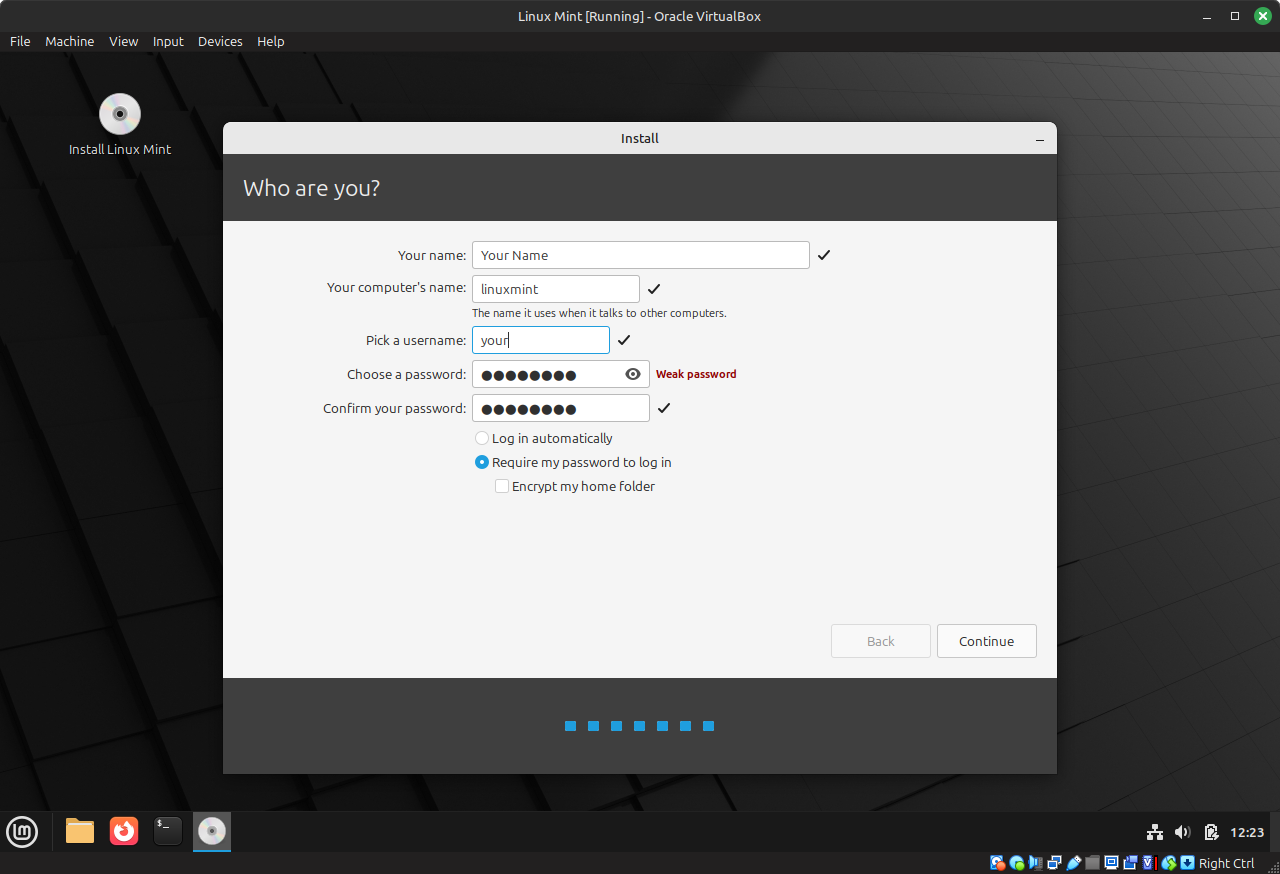
Once everything is set the way you want it, click on Continue:
Not the system will do its thing and install itself.
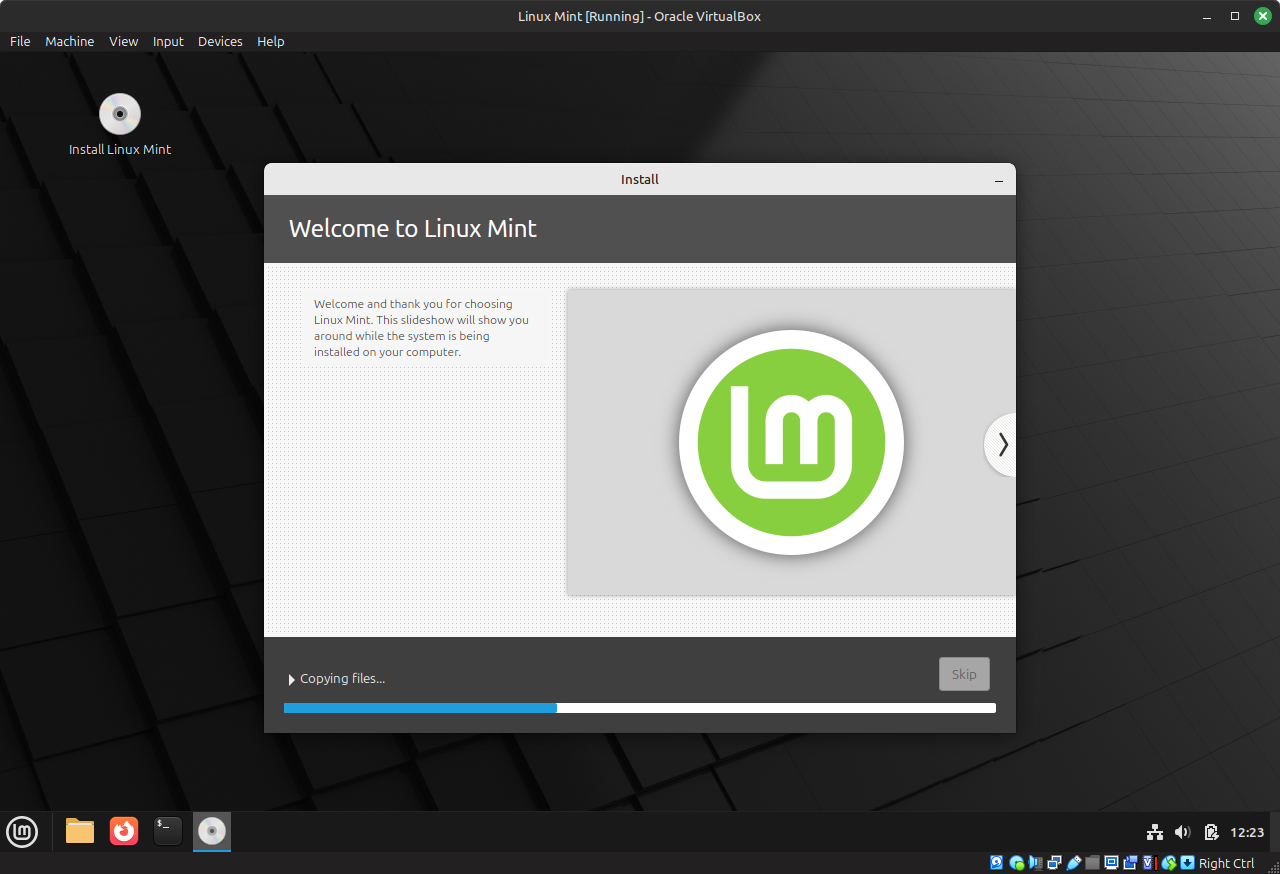
Once Finished
You will see this message pop up telling you the installation was successful.
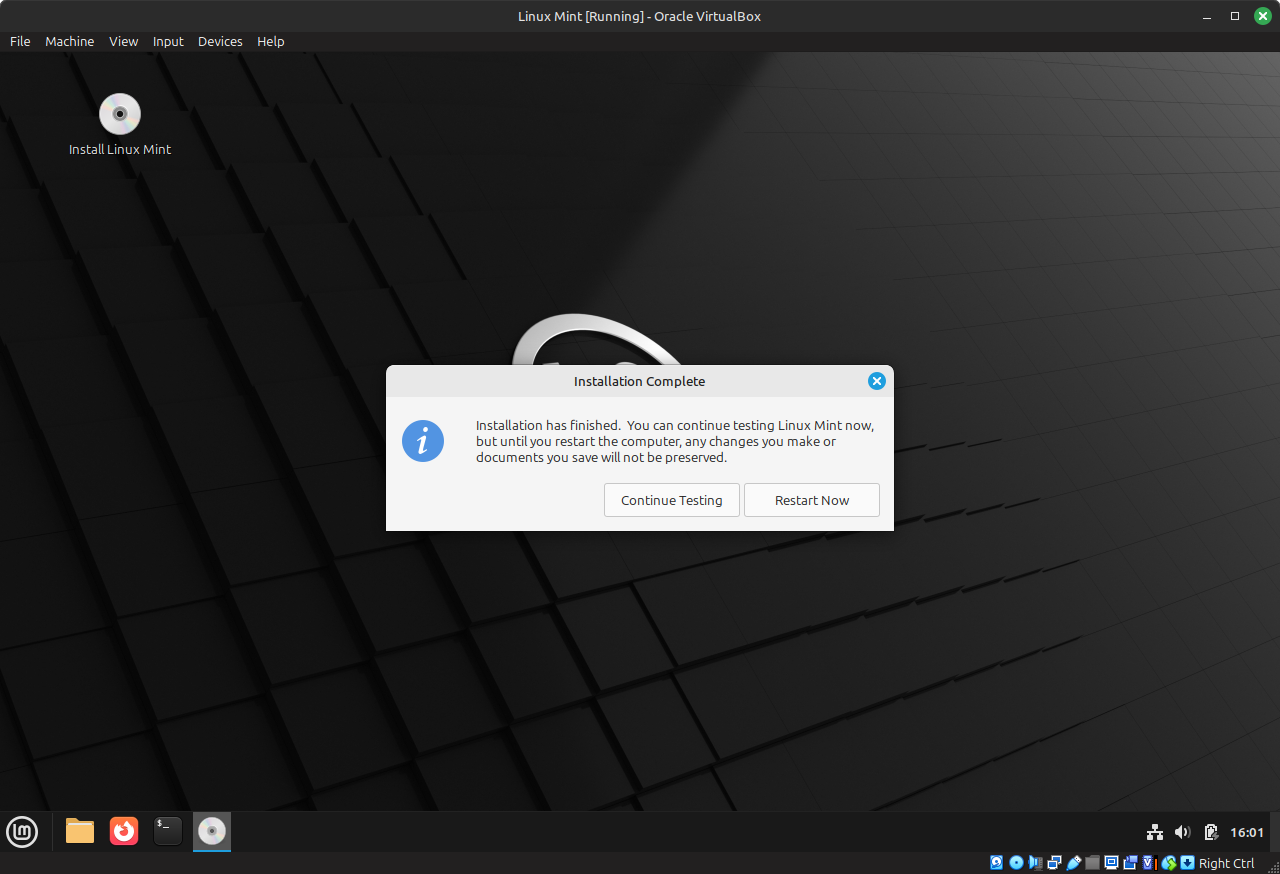
You can either keep testing the system in the live environment, or you can restart the computer when you are ready. Remove the USB stick from your computer, and let it reboot.
Welcome To Your New System
Login Window
With the username and password you set during the installation process, you should be able to log in to your new system.
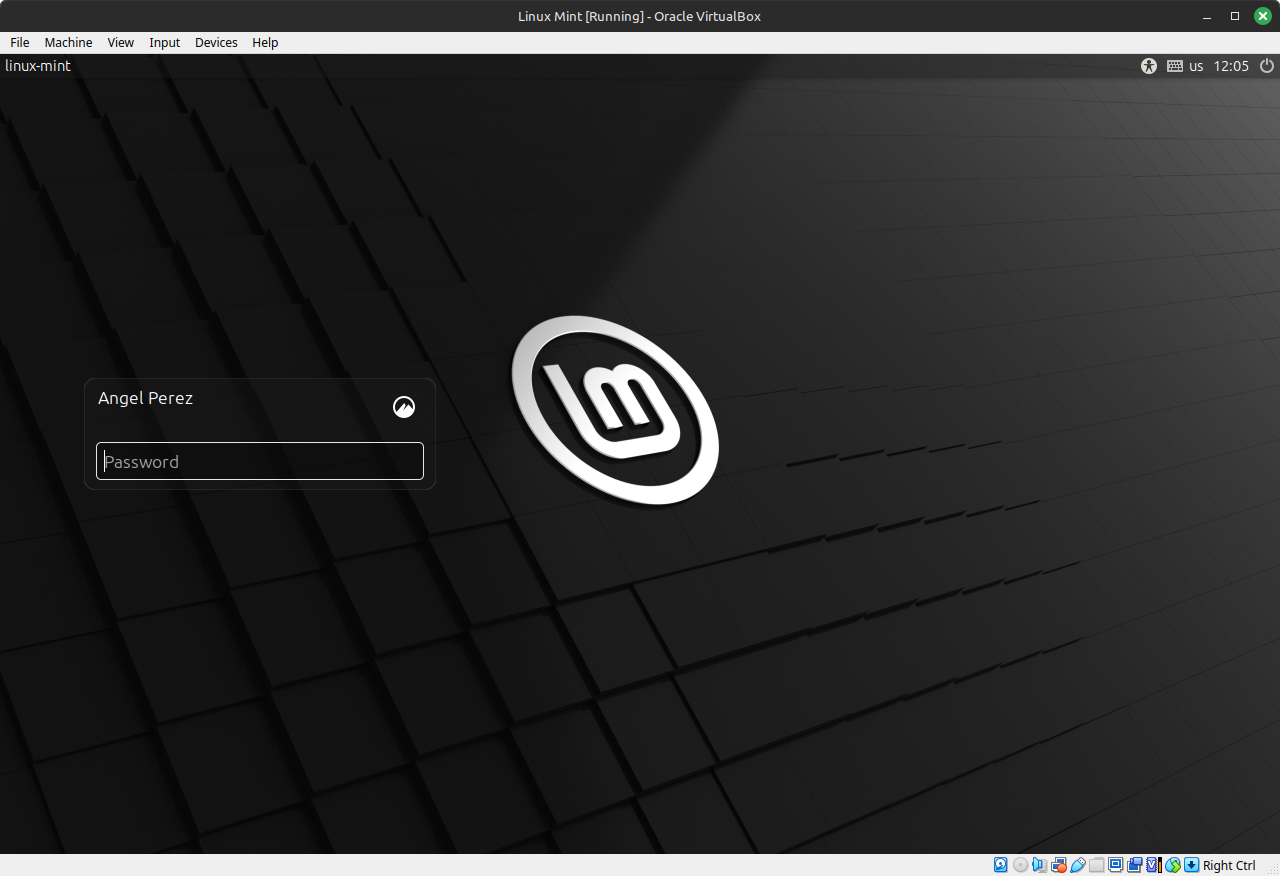
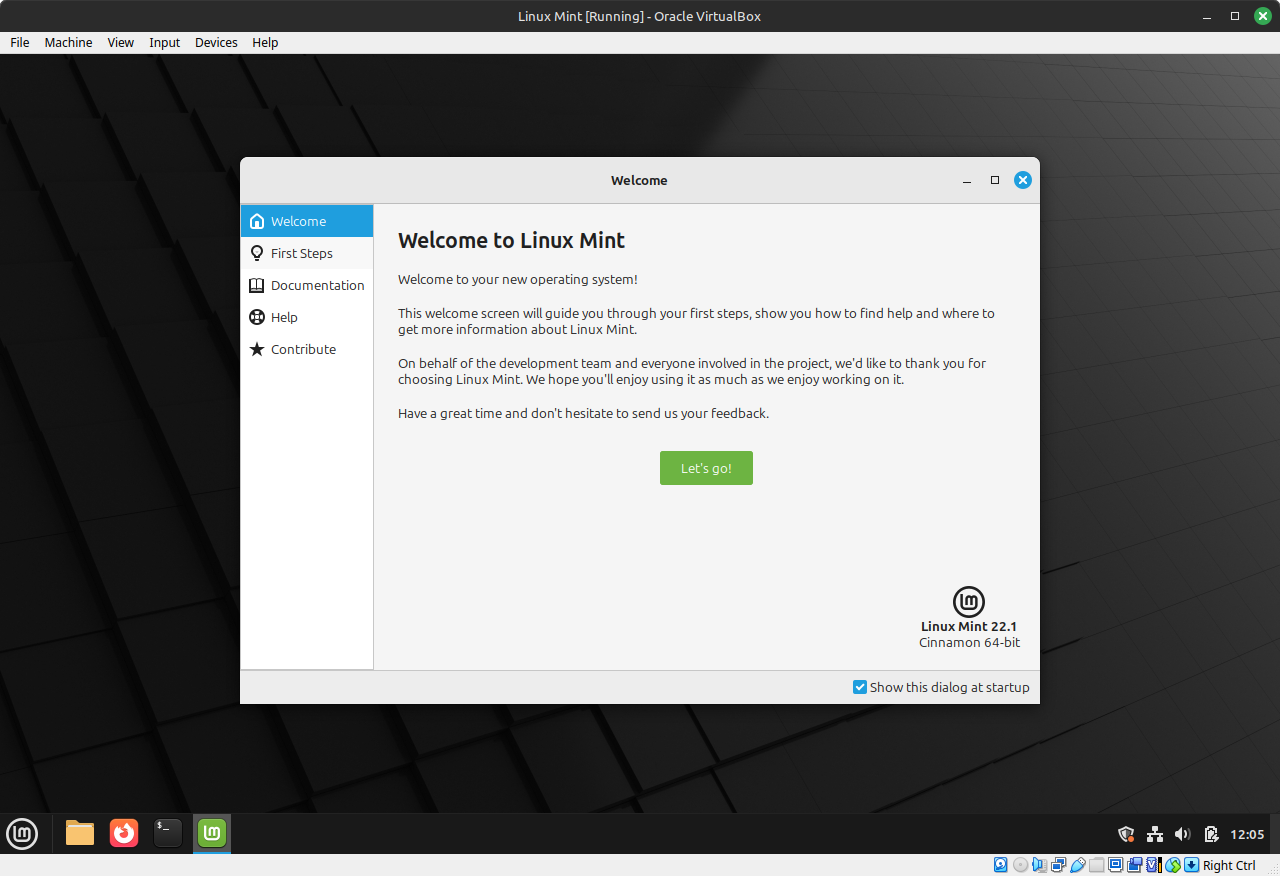
Welcome
Now you should see this welcome screen pop up welcoming you to the system. Clicking on each section will show you different things you can do with your new operating system. Such as changing the theme, setting up snapshot backups, etc.
The End
At this point you have successfully installed Linux Mint on your system. Now you are free to use it to your liking, explore it, and get plenty of work done out of the box. For future endeavors I will be making post installation guides on how to accomplish basic tasks in Mint. Installing new software, writing up a word document, etc. Stay tuned for more down the road.
Support my work here


